

In this post I thought I’d highlight 3 tools that I absolutely love. I use these tools mostly for professional purposes, but they can also come in handy for personal reasons. I highly recommend each one of them… and, they’re free!
My top 3 must-use tools are…
- Screencast-O-Matic
- Picsplosion
- Evernote
I’ve talked about these tools in other blog posts in the past. But I wanted to highlight them again here and go over how to use each tool in a little more depth.
That said, let’s dive right in starting with Screencast-O-Matic…
Screencast-O-Matic
I used to use Jing (Techsmith) as my go-to screen-capture tool. But some changes recently occurred, and Jing’s .swf format will no longer be supported by web browsers at the end of this year. Plus, Jing’s Screencast sharing output has been deactivated so you can’t share videos and images to Screencast anymore.
See the email I received below:

So instead of Jing, I made the switch to Screencast-O-Matic, which is awesome. It’s free to use and it allows you to quickly and easily take screenshots and record videos. You’re also able to edit your screenshots and store both your images and videos in your Screencast-O-Matic dashboard.
I use this tool to take screenshots and create videos to communicate more effectively with the people on my team (this saves me a lot of time versus typing out a bunch of emails). I also use it to create videos to post on my blog and social media.
Screencast-O-Matic saves me a lot of time and I would highly recommend it.
Here’s an overview of how it works:
To take a screenshot
- Sign in to your account
- Select the camera icon at the top
- Click the READY button when you’re all set to grab your screenshot
- You then have 3 options:
- 1. Click and drag your cursor over the area you want to take a screenshot of
- 2. Press Escape to cancel the screenshot
- 3. Press Enter to take a screenshot of the entire page
- Once you get your screenshot, click the Open Screenshot Editor button
- From here, you’re able to edit your screenshot, copy it, export it, and publish it
- I usually just hit Export, in which case you would name your screenshot and hit Save
- Then, you can upload your screenshot from your computer and post it wherever
Note: Depending on where you want to post your screenshot, you may be able to skip the export step and just hit Control + V to paste your screenshot. For example, when I want to add screenshots to my blog posts, I have to export them then upload them from my desktop. But when I’m adding screenshots to a Word doc, I can just hit Control + V.
Here’s a quick demo:
To record a video:
- Sign in to your account
- Select the video icon at the top

- You’ll see this pop up on your screen:
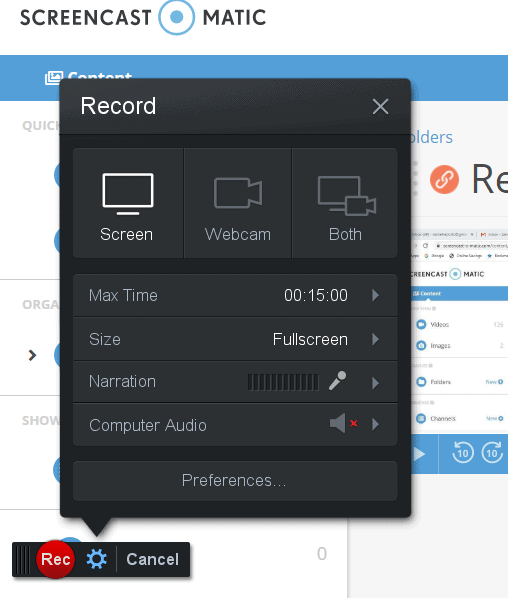
- Hit record when you’re ready and wait for the 3, 2, 1 countdown to begin
- If you want to pause or stop the recording, hit the red button; hit it again to resume recording, or, if you’re finished, hit Done
- If you hit Done, you’ll be given the option to Save/Upload, Quick Share, or Edit Video
- I usually click Quick Share, which gives me a link that I can easily share with people
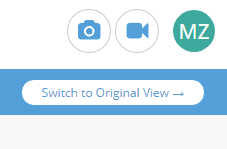
All of the videos you create are also all stored in your Screencast-O-Matic dashboard. So if you need to get your video’s embed code, for example, just go to Videos under the Content tab and click the video’s Video Details. Here, you’ll be able to do several things with your video.
Here’s a quick walkthrough of the different options:
Optional upgrades:
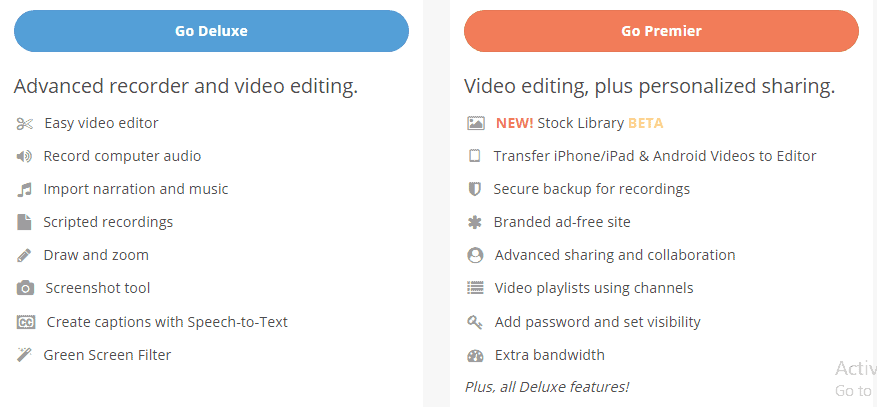
I find that the free version of Screencast-O-Matic is really all you need, with the main caveat being that your videos can only be up to 15 minutes long. For the majority of what I use Screencast-O-Matic for, 15 minutes is more than enough (Jing had a 5-minute limit). But if you do want to create longer videos, you can upgrade to one of the paid plans:
- Deluxe – $1.65/month (billed annually)
- Premier – $4.00/month (billed annually)
They include the following additional features:
Picsplosion
Picsplosion is a tool I developed for people who do the Low Hanging System to help them quickly and easily create new designs. Anyone can sign up to use Picsplosion, though. It’s free.
After signing up, you’ll see the main page:

As you can see, you can create both text and image layers. Here’s a quick demo:
Evernote
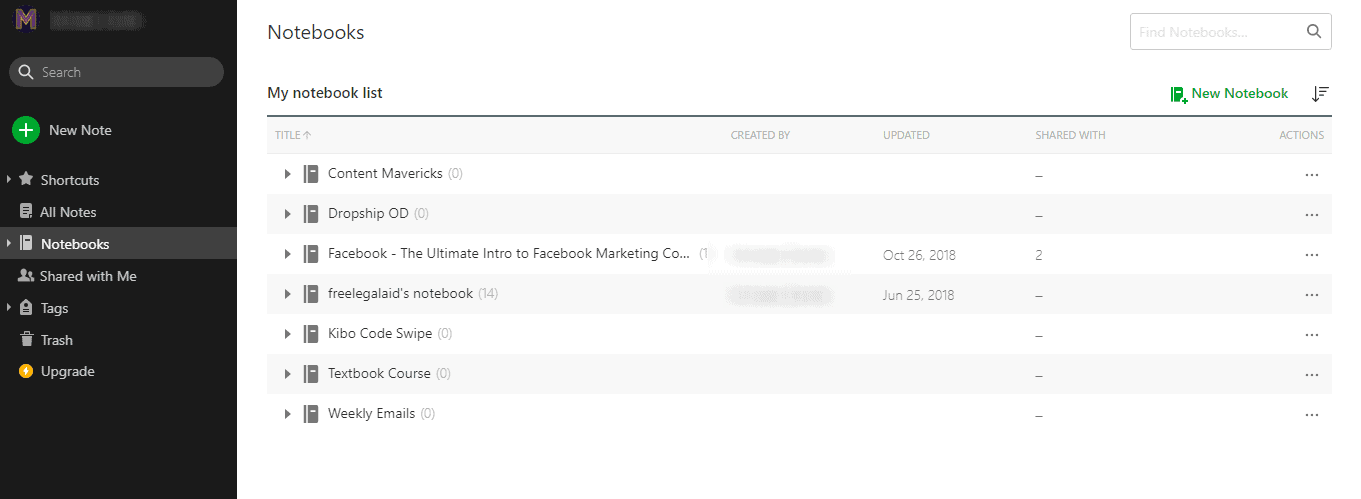
Evernote is a fantastic tool. I use it to document everything and stay organized. With Evernote, I create notebooks for all of the different areas of my life.
For example, I have a notebook for the weekly email content I create. I have notebooks for the warehouse. I have notebooks for Amazon, Etsy, and eBay, and I have notebooks to keep track of things like vendors’ pricing options.
Whenever I buy courses, I create notebooks for them. Then, I put my course notes inside Evernote so I can easily access that information.
I also have notebooks for personal things, including a health notebook, which I use to store any health-related information that I get from doctors. And other people use Evernote to store things like shopping lists and recipes or to plan events and vacations.
Here’s a video going over how I use this:
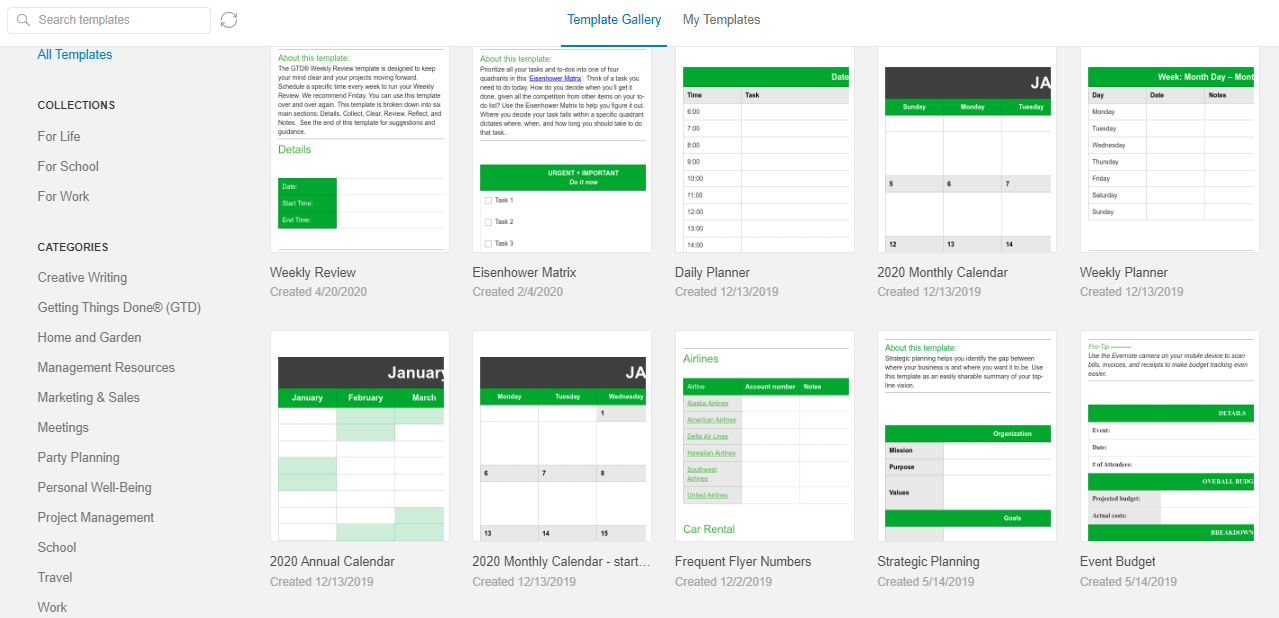
After logging into Evernote, just click the green + button where it says New Note. Give your note a title. Then, start writing, drag files, or choose one of Evernote’s numerous note templates organized by category. It’s super simple!
You can also share notebooks with other people. Inside the All Notes section, just click the green Share button at the top. You’ll see the following pop-up:
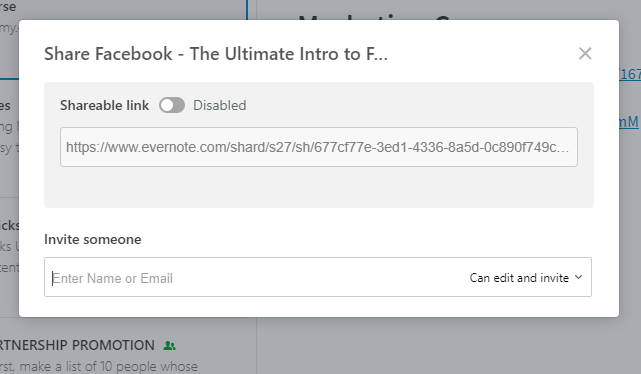
You can either make the link shareable and give that out to people or you can send email invites. That way, you all have access to the same information and you can collaborate.
There are so many things you can do with Evernote, and you can easily search to find whatever you’re looking for within the dashboard.
Optional upgrade:
As with Screencast-O-Matic, Evernote also gives you the option to upgrade. Again, though, the free version is all you need for the most part. But if you are interested in exploring the paid options, here is what Evernote offers:
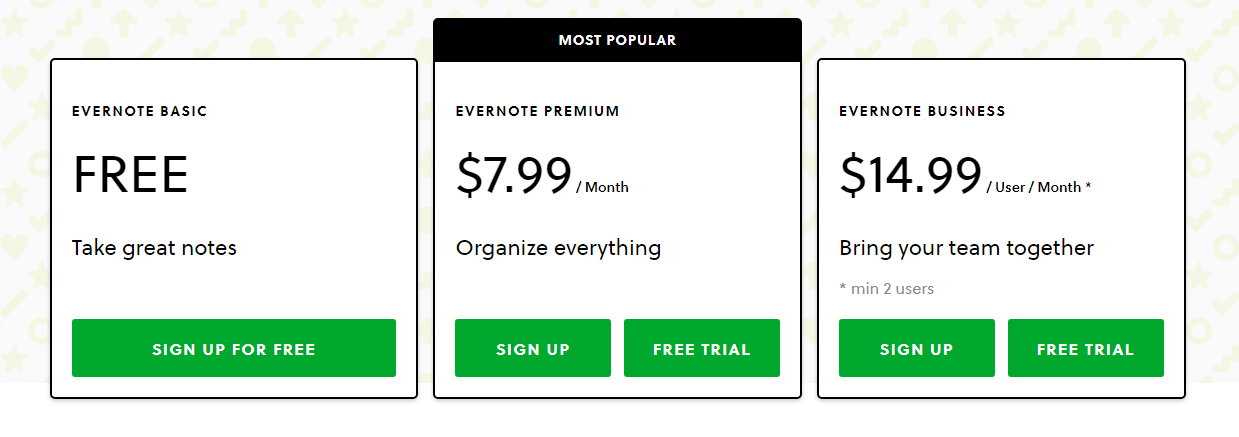
You can learn more about the differences between each of the plans here.
What do you think of this list of tools? Have you tried any of them before? If so, I’d love to hear your thoughts! Please leave a comment below. Also, if you enjoyed this post, please share it with your friends and followers.


0 thoughts on “3 must-use tools to enhance the flow of your ecommerce business”
Very useful list of tools IS GIVEN IN THIS ARTICLE. A big thumbs up for your informative article. Thanks for presenting this enlightening article!! I appreciate your hard work behind this great article. Your article will really help me. Gonna check out for sure. Thank you…!!!
Great tools, thank you for sharing them
Hi,
It’s Sayyah, i just wanted to thankyou for sharing these tools. Organization is a challenge 4 me, so this was very helpful. i recently purchased your course and I am also in Jay’s children’s wroting course, wrota a book and cant even find the course at the momennt. Lol/ :( . Anyway, this was right on time and i am ready to get started!
Thanks again,
Sayyah
Aww so happy to hear that! :) Thanks for your comment!